Hip Gig Stretch

Tuesday, May 22, 2012

Updated Bedside Table

Hi,

This weekend was very full, but some how I found a few minutes to swing by some garage sales in my neighborhood. For a total of $18 I got a bedside table, a metal tray, a Swiffer Vac, a Chuck-it and a "L." I'm quite the bargain shopper :) Here are my finds minus the bedside table.


The bedside table was my most expensive purchase, a whopping $10! I liked the lines and size, but it did not have the right feel for our bedroom. Here is what the table looked like to start with.
After my first trip to Lowe's for this project, this is what I had:
  • Primer
  • Medium Sandpaper
  • Paintbrushes
  • Screwdriver

I began the project by taking out the drawer. You never know what you might find.
Next, I removed the hardware.
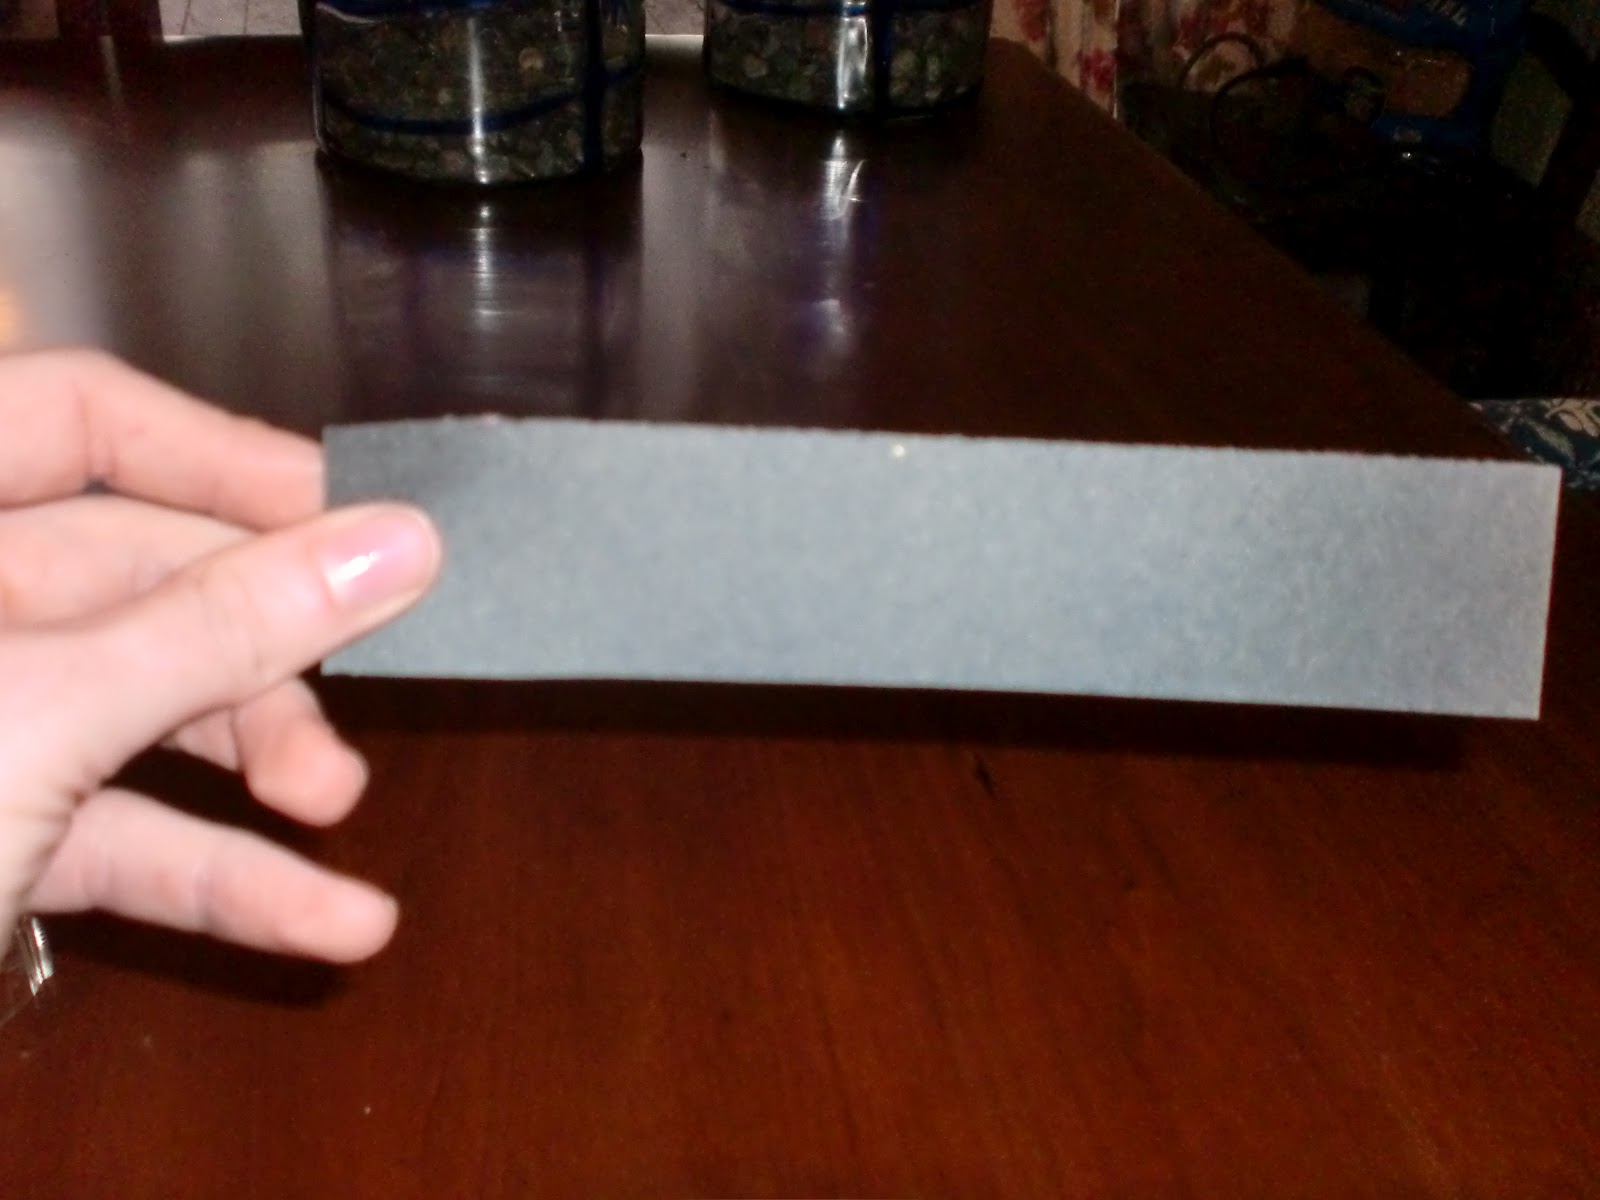
 I then cut a square of sandpaper and began sanding the table.

I just sanded enough to give the table a little bit of texture for the primer to stick to.

I ended up having to put on some gardening gloves because the friction of the sandpaper and the heat from the sun were burning my hand.
  
After sanding the whole thing, I took a slightly damp rag and wiped the dust from sanding away.
Once the piece was dry, I began painting the table with primer. 
A quick note about primer, I used Kilz because it is what my mom has always used. It is oil based, which means that you need mineral spirits to get it off. It might be wise to look for primer that is water based so that it is easier to get off if you are like me and get it all over yourself. I definitely went to a wedding this weekend with paint on the back of my leg that I had missed with the mineral spirits...

Also, depending on the colors that you are working with, it might be more efficient to use a paint and primer in one. Since I was going from a dark color to a light color, I felt that the primer was a necessary separate step.


While the primer was drying, I picked the paint color for the bedside table.

I ended up choosing the color "Golden Glow" by Olympic in a satin finish. This paint was water based, so it came off with soap and water. The paint came from Lowe's, but I also went to Home Depot to get the new hardware. The Home Depot had the brushed nickel cup pull I had in mind.
*The pull in this picture is not the one I ended up using.

After purchasing the yellow paint, I put two coats of the yellow on the table.

 Once it was all finished, I felt like it was a lot of yellow. To make it a little less intense, I decided to add a chevron stripe to the back of the shelf using some left over white paint that I had from another project. Unfortunately, I forgot to take a picture before I painted the white over.

I used painters tape to create the pattern. I also put painters tape along the sides where the brush might accidentally touch. Here is what it looked like when I started to pull up the tape.
There were a few places that needed to be touched up with the yellow, but here is what it looked like when it was done.
 Here is the bedside table that the yellow one replaces.


BIG improvement, if I do say so myself :)

I hope that you have enjoyed this post. These methods could be applied to painting other pieces of furniture as well. I would love to hear about any projects that you are working on.

Make it your own!
~Kate


Thursday, May 3, 2012

Congrats to the Grads!

Hello,

We have reached the time of year that many students have been waiting for... graduation! Graduation is the culmination of so much work, the grads deserve to be celebrated! My personal favorite way to mark such a grand achievement is to share a bottle of wine with my friend, the graduate, (providing that the are of legal drinking age, of course).

When a friend reached this great milestone recently, I decided to fancy up the bottle a little bit.

Here is what you will need:

  • Black Construction Paper (or felt)
  • Scissors
  • Tape (double sided) or Glue
  • Embroidery Thread
  • Needle
  • Bottle of Wine :)


The first step is to cut a strip of paper, about an inch wide and 3"-4" long.
Next, wrap the strip around the neck of the bottle. 
Secure with tape or glue.
Go back to your construction paper or felt and cut out a square. Mine was about 2"x2".
Thread your needle and then go through the middle of your square.
Pull it through, making sure that there is a knot at the end to keeping it from pulling all the way through.
Take your needle and thread it back through the square near the the first hole. This time you will go top to bottom rather than bottom to top. Be sure that you leave a loop that hangs off the edge of the square. This is important for the formation of your tassel.
Next, cut 3 or 4 strands of the embroidery thread about an 1.5" to 2" long.
Place the loose strings halfway through the loop on the square.
Pull the tails of the loose strings down and take another piece of thread and tie it around the loose pieces slightly below where the loop.
Trim the strings as needed. I also decided that I wanted my tassel to hang shorter. It was easy to pull the strings and tape them at the desired length.

Place glue or tape on the cylinder that you made to go around the neck of the bottle. I used double sided tape.
Place the square with the tassel on top and place the hat on the bottle.


Ta-da! There you have it! A bottle of wine wearing a mortar board.

I hope that this makes a special treat for all the grads in your life. 

Don't forget to make it your own.

~K

Tuesday, May 1, 2012

Shopping in Clayton

Hello,

One of my most favorite places in the world is north Georgia - Lake Burton in particular. I was lucky enough to be up there over Easter. In spite of the early spring, it was still pretty cool on the water, so my mom and I decided to go into Clayton on Saturday, while the boys played golf.

Going to Clayton is not necessarily a creative act in and of itself. However, going on an adventure, with an open mind, can result in unexpected inspiration. An added bonus, my mom and I had a fun mother daughter day together.

Clayton is a wonderful little town that is about 20 minutes from Lake Burton and probably a little more than 2 hours northeast of Atlanta. 
We started our day with lunch at Grapes and Beans. I had their wonderful portabella pita, which is a regular on their menu. My mom had a slice of their pimento cheese tomato pie. If you are ever in the neighborhood, I would strongly recommend stopping by for some delicious grub. They also have cute t-shirts in great colors.

From lunch we drove out to a flea market. There was a very eclectic assortment goods, everything from glassware and lamps made from the center of a wagon wheel to leather goods and old records.

I came away with a few purchases that I am pretty excited about. First, I found this great navy and white enamel bracelet. 

It was originally marked at $14. That price was crossed out and $10 was written underneath it. When I asked the lady about the bracelet, she said that I could have it for $5. I was impressed with my negotiation skills - although, I probably would have paid $14. It looked perfect with my Easter outfit.

As we were getting ready to leave the flea market, we ran into a very nice gentleman who was selling tomatoes. These weren't just any tomatoes, they were heirloom tomatoes. He had a wide selection of varieties and they were priced very reasonably. After talking to him, it became clear that preserving these heirloom strains was a passion for him. Since, good tomatoes are one of my favorite things about summer, I purchased 2 of the Gold Medal tomatoes and 1 Cherokee Purple. These were recommended for me because they are particularly hearty plants. Hopefully, my thumb will in fact be green and I will have some scrumptious homegrown tomatoes, perfect for culinary treats!
We left the flea market and headed back to downtown Clayton. There are several great antique shops and art galleries. When we were in the Main Street Gallery, I found this wonderful, small, painting by Moni Hill.
I was drawn to her work because of the vibrant colors she uses - I went back and forth as to which piece of hers I wanted to purchase. I ended up with the one above because I thought that it would add a lot to the alcove around my sink. Don't you agree? :)
Going into my shopping trip in Clayton, I had no expectations or agenda. The result was I was open to be inspired by what I was exposed to.

I hope that you are able to go on an inspiring adventure of your own and would love to hear the details in the comment section. 

And as always, make it your own!

~Kate


Sunday, April 22, 2012

This is so cool - iFontMaker

Hi,

I have know for a long time that I have a serious obsession with fonts. They make me happy.

So, I was super excited this morning to discover iFontMaker for the iPad (available in iTunes). With this program you are able to create your own font using the touch screen of the iPad. So cool!

The program gives you guidelines to show you where the letter will be, as well as a sample letter.


You use your finger to show where you want the lines of the letters to be. Sorry, you will have to use your imagination for the finger :)


After you have completed all of the letters you create the font. You can visit this website and download your font (or others) to your computer. Once the fonts are on your computer, you can use them like any other ttf font.

The website also offers helpful tips on how to use the iFontMaker program.

You can go here  to download my font.


I hope that you enjoy this program. Make it your own!


~Kate

Friday, April 20, 2012

Celebrate Daily

Hi!

Today I was on Pinterest and was very intrigued with this post from Take 2, They're Small about being organized. Being organized is always on my list of things to work on, so I am constantly on the look out for new good tips.

Since I started perusing the blog looking for tips on ways to improve an area of my life, I was pleasantly surprised when I came across a link to this post by Design for Mankind about non-goals for 2012.

I love this idea! I think that it becomes too easy to focus on areas where we need to improve and forget that we as individuals do good (or wonderful!) things daily. All of that negative energy can be counterproductive to the creative process.

To go with that spirit, here is my list of non-goals:
1. Eating breakfast daily and finding ways to make it quick, healthy and interesting. It really is the most important meal of the day :)

2. Constantly looking for positive ways to channel creative energy, as well as keeping up with this blog. It has been very rewarding to do something just for me.

3. Continually working on my marriage - everyday is better than the last, proof that the best is yet to be.

4. Sweeping and keeping up with the house, it is the little things that make a house feel like a home.

5. Remembering to count my blessing, no matter how tough a situation is there is still so much wonderful in my life.

6. Trying new things on a regular basis, there are so many incredible things in this world to experience.

I would encourage you to look through both of these blogs and think of the non-goals in your life. I would love it if you left some of your own non-goals in the comment section. Don't forget to make it your own!

Kate


Sunday, March 25, 2012

Chair Reupolstering

Hello,

Over the past 3 months, life has been rich and very full. Unfortunately, that has left my blog a little neglected. I have been busy with various projects that I will share with you soon.

My first post back, is about a project that has been on my "to do list" for a very long time. My aunt was kind enough to give us some dining room chairs that she had purchased a a garage sale and had not worked out at her table. Since our previous chairs had started breaking underneath our guests, the gift was amazing and perfectly timed. However, the seat upholstery was a little dated. Here is a before picture.

So, if you have chairs with a flip seat like this or find a deal at a garage sale, updating the seat is a very easy way to give a chair new life. It is a snap!

Here is what you will need:
  • Chairs with removable seat (I had 6) 
  • Fabric (I used 2 yards)
  • Staple Gun with staples
  • Scissors
  • Flat Head Screwdriver

The first step is to pick out the fabric that you would like to use to cover the seats with. I have upholstered host chairs, also a garage sale find, that I like. So, I needed to pick a fabric that went well with them.
After a fun day of shopping with some friends, we ended up at Lewis and Sheron. A great place to shop for fabric in Atlanta. They also have a website. I chose a neutral fabric to go with the host chairs and to not compete with the other colors in the room.

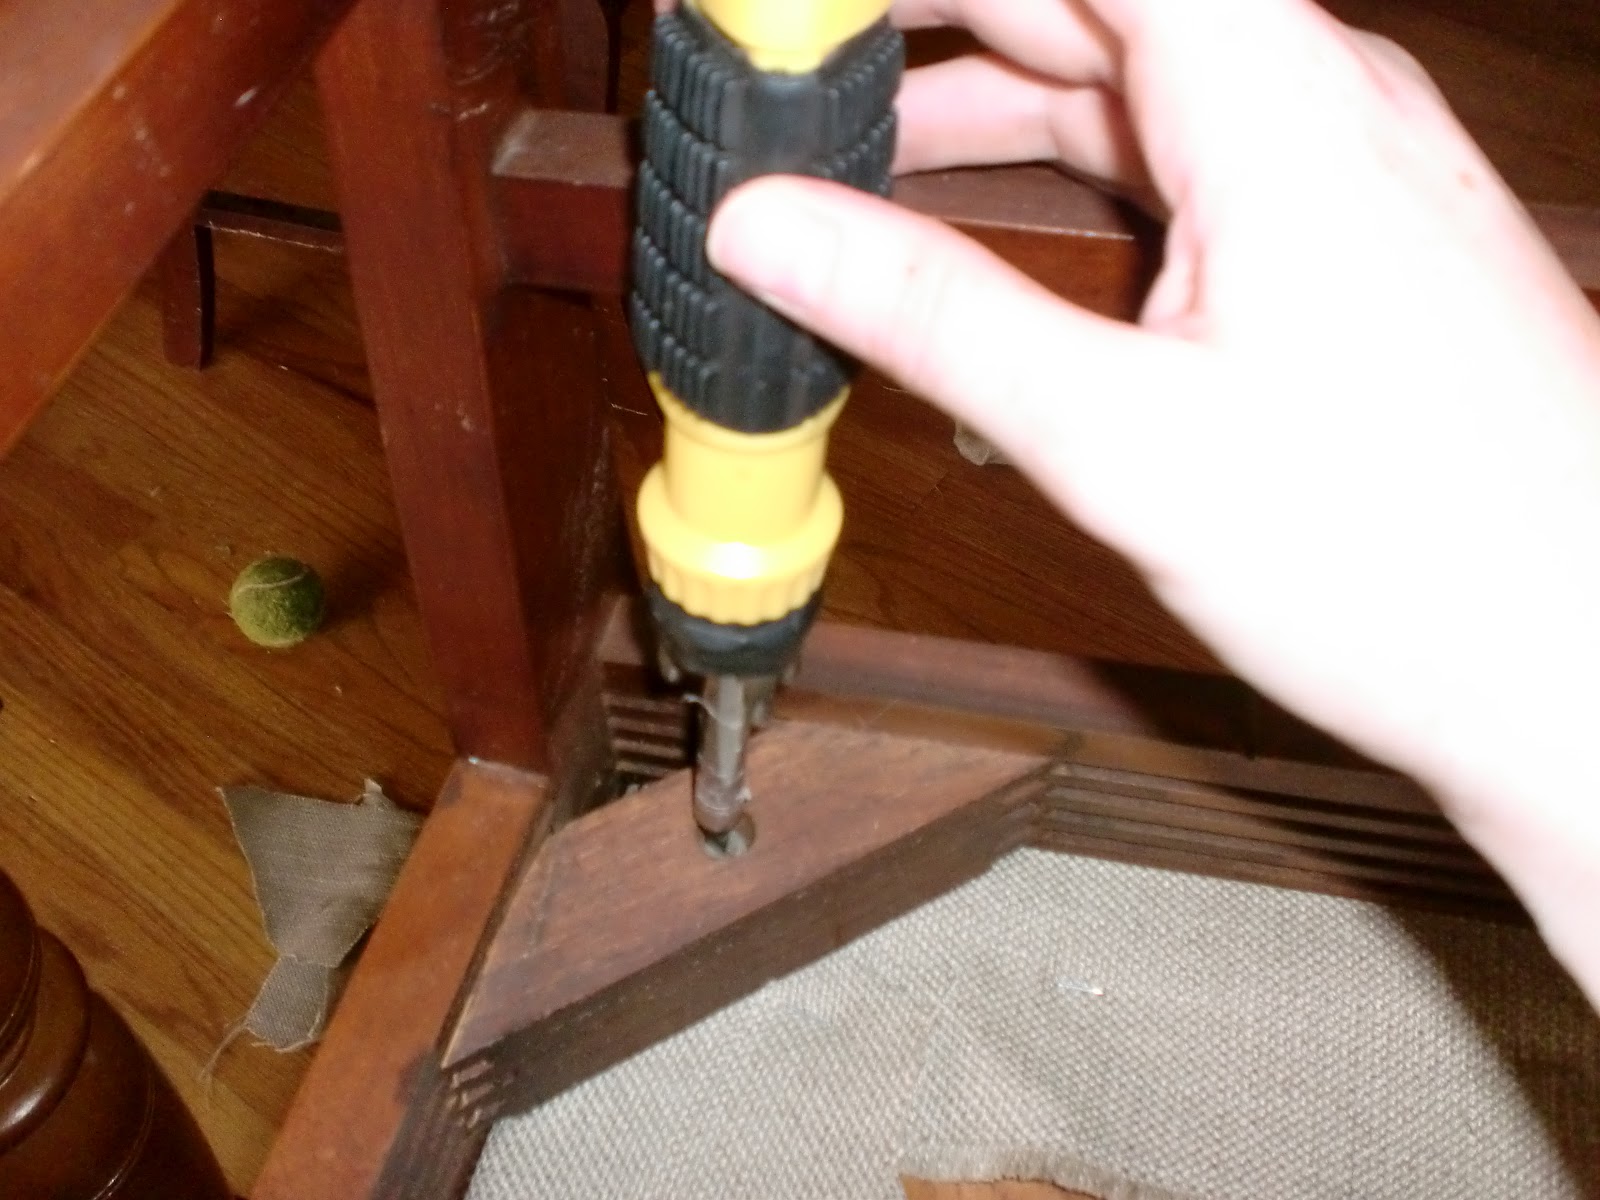
Once you have the fabric, the next step is to take the seat off the chair. Mine happened to have screws underneath, but not all chairs will.
If you have screws, be sure to put them somewhere that they will not get lost.

After the seat is off the chair, it is time to remove the existing fabric. I used a flat head screwdriver to go underneath the staples and pop them off.


I kept all of the staples in the middle of the chair seat and wrapped them up in the old chair covering to throw away.

You never know what treasure you might find underneath. This beauty had spent some time in the sun.
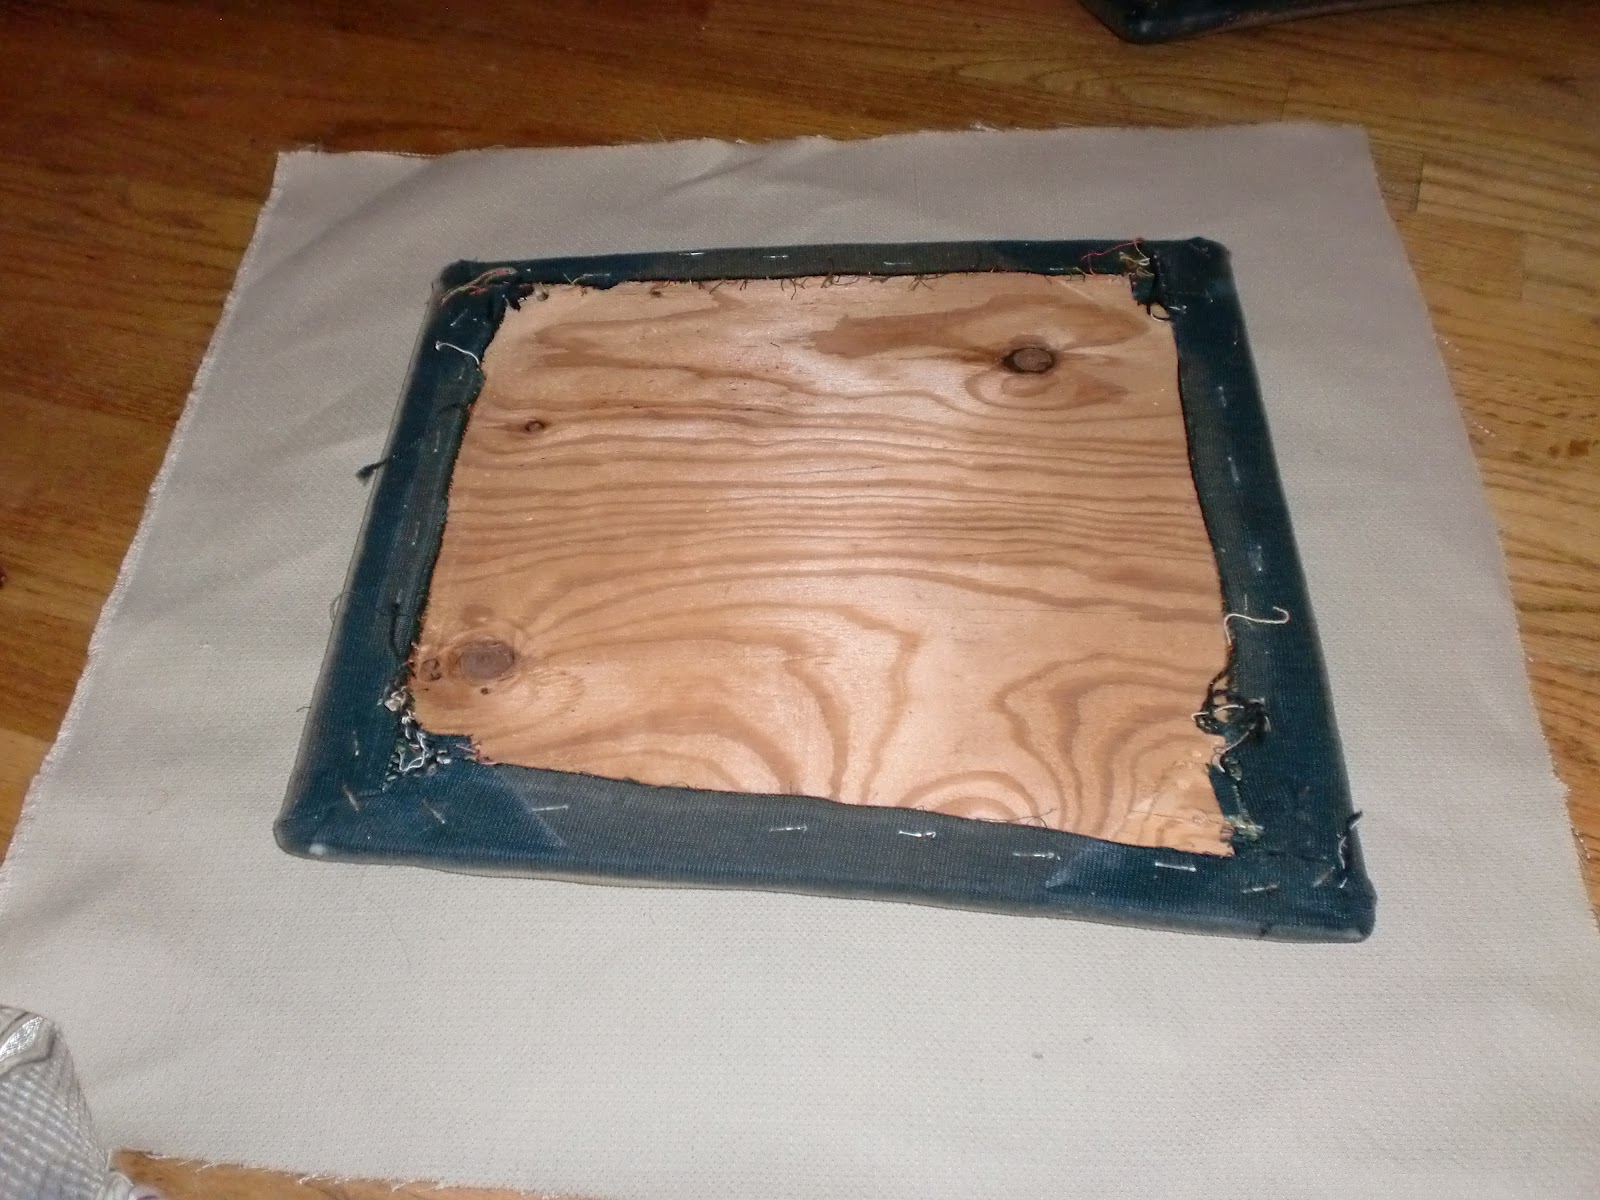
I chose to leave the original covering on to keep the foam in place. The fabric I bought will go on top. First you want to measure out enough fabric to cover the seat and wrap around the sides about 2-3 inches. 

Remember, if you cut too much fabric you can trim it down, but you cannot add more if it is too small.
Once you have your fabric cut, place the chair seats foam side down on the fabric. Make sure the the side of the fabric that you want to see is facing outward, away from the fabric so it will show.
Next, we are going to begin wrapping the seat in the fabric. My seat is a trapezoidal shape, so I started on the sides that were parallel to each other.
After you have folded the fabric over, staple it into place.
Fold the opposite side over, being sure to pull it tight, and staple into place.
The next step is the trickiest part. Fold the fabric at the corner so that the fabric is tight against the chair seat. This is a point where you might need to  trim some extra fabric so that the corners do not get too bulky.
Staple the corner fold into place.
Repeat on the other corner on the same side. Then fold the rest of the fabric on that side over and staple.
Repeat the corner steps on the opposite side, again, making sure that the fabric is taut.
If necessary, screw the finished chair seat back into place.
Here is the finished product.
Repeat the process on all of your chairs.

I hope you enjoy this quick, easy way to update chairs! Remember to make it your own.

~Kate