
Over the past 3 months, life has been rich and very full. Unfortunately, that has left my blog a little neglected. I have been busy with various projects that I will share with you soon.
My first post back, is about a project that has been on my "to do list" for a very long time. My aunt was kind enough to give us some dining room chairs that she had purchased a a garage sale and had not worked out at her table. Since our previous chairs had started breaking underneath our guests, the gift was amazing and perfectly timed. However, the seat upholstery was a little dated. Here is a before picture.

So, if you have chairs with a flip seat like this or find a deal at a garage sale, updating the seat is a very easy way to give a chair new life. It is a snap!
Here is what you will need:

- Chairs with removable seat (I had 6)
- Fabric (I used 2 yards)
- Staple Gun with staples
- Scissors
- Flat Head Screwdriver
The first step is to pick out the fabric that you would like to use to cover the seats with. I have upholstered host chairs, also a garage sale find, that I like. So, I needed to pick a fabric that went well with them.

After a fun day of shopping with some friends, we ended up at Lewis and Sheron. A great place to shop for fabric in Atlanta. They also have a website. I chose a neutral fabric to go with the host chairs and to not compete with the other colors in the room.
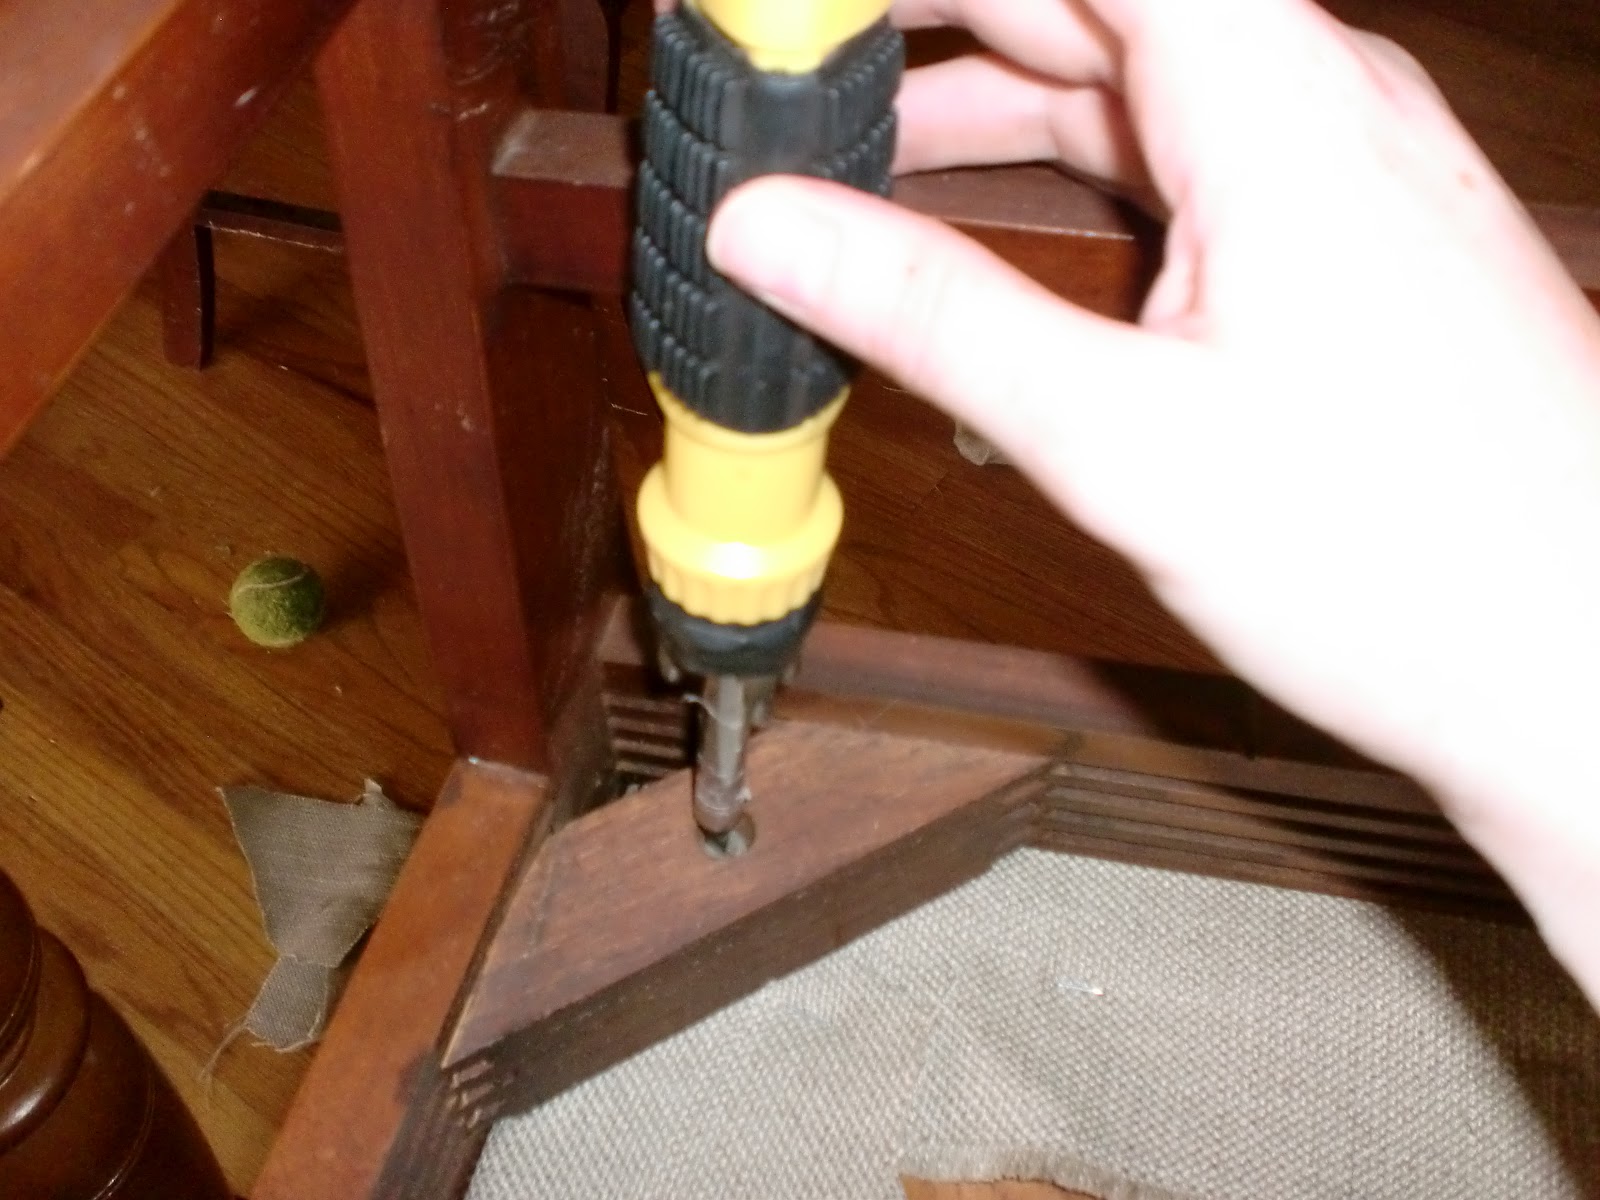
Once you have the fabric, the next step is to take the seat off the chair. Mine happened to have screws underneath, but not all chairs will.

If you have screws, be sure to put them somewhere that they will not get lost.

After the seat is off the chair, it is time to remove the existing fabric. I used a flat head screwdriver to go underneath the staples and pop them off.

I kept all of the staples in the middle of the chair seat and wrapped them up in the old chair covering to throw away.


I chose to leave the original covering on to keep the foam in place. The fabric I bought will go on top. First you want to measure out enough fabric to cover the seat and wrap around the sides about 2-3 inches.


Here is the finished product.

Repeat the process on all of your chairs.
I hope you enjoy this quick, easy way to update chairs! Remember to make it your own.
~Kate