This weekend was very full, but some how I found a few minutes to swing by some garage sales in my neighborhood. For a total of $18 I got a bedside table, a metal tray, a Swiffer Vac, a Chuck-it and a "L." I'm quite the bargain shopper :) Here are my finds minus the bedside table.

The bedside table was my most expensive purchase, a whopping $10! I liked the lines and size, but it did not have the right feel for our bedroom. Here is what the table looked like to start with.

After my first trip to Lowe's for this project, this is what I had:

- Primer
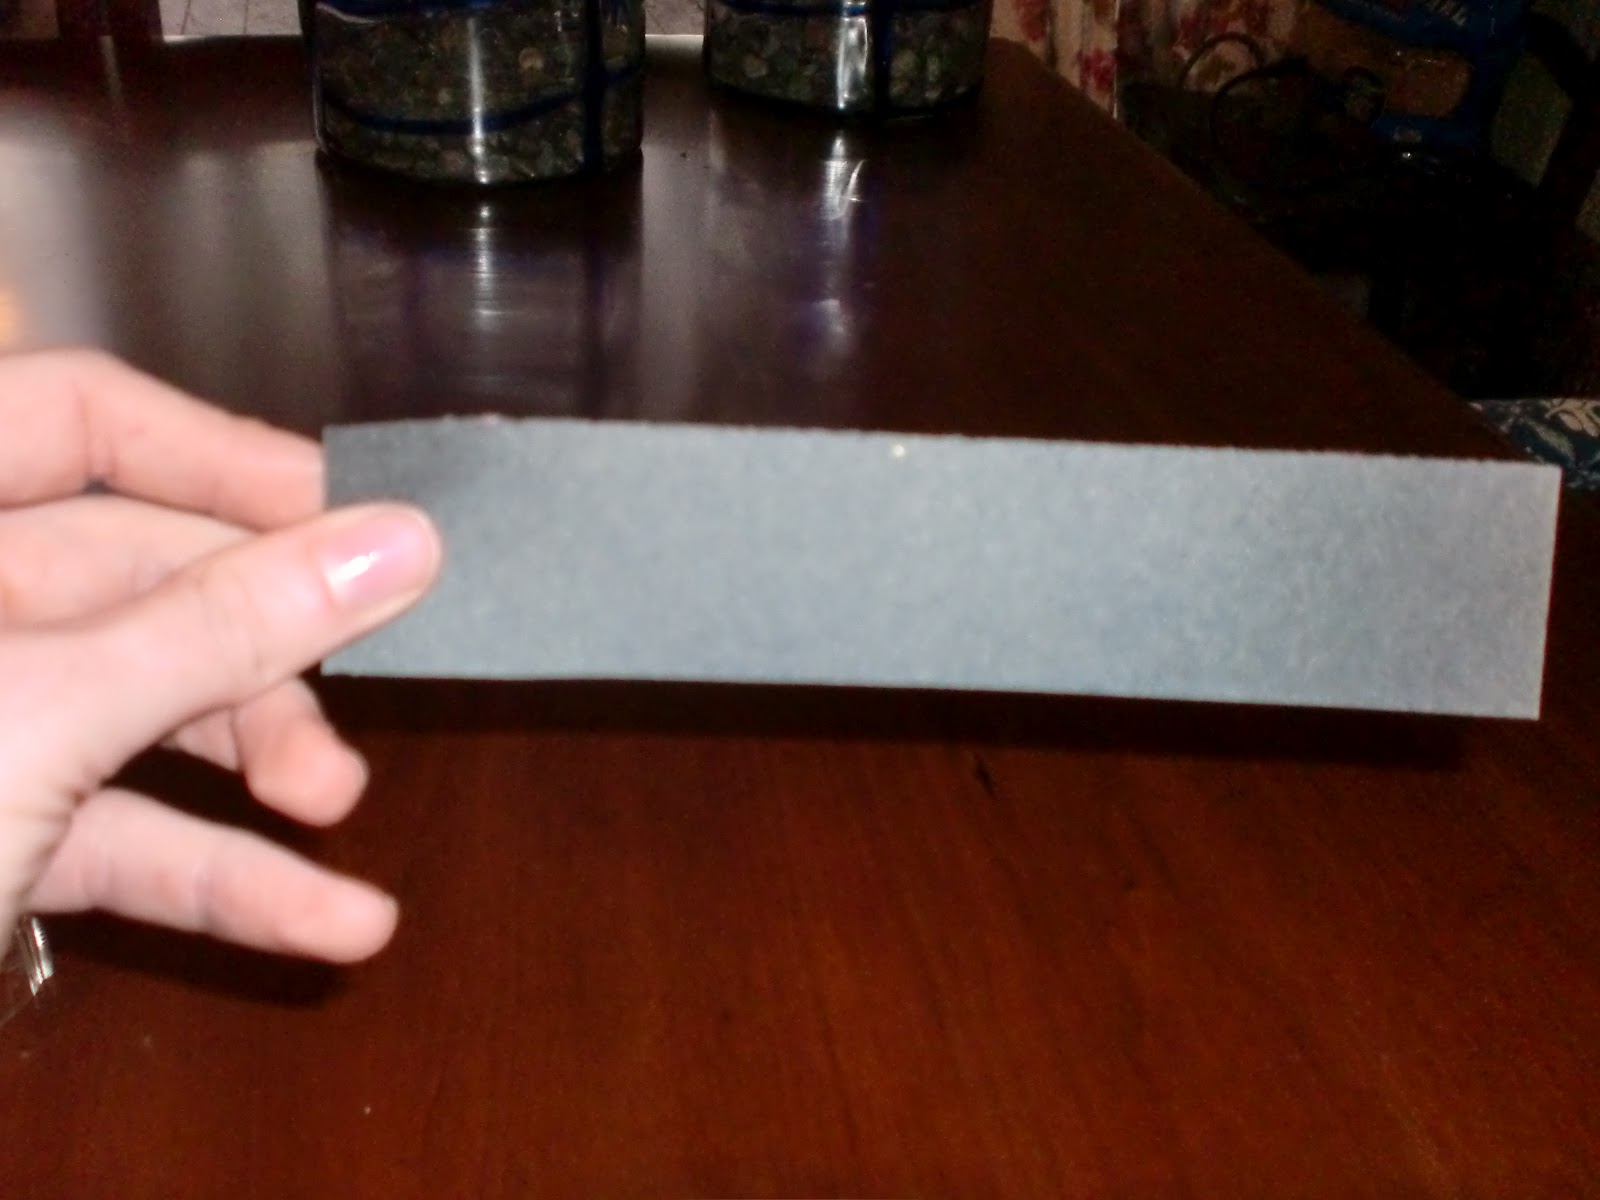
- Medium Sandpaper
- Paintbrushes
- Screwdriver
I began the project by taking out the drawer. You never know what you might find.

Next, I removed the hardware.


I just sanded enough to give the table a little bit of texture for the primer to stick to.
I ended up having to put on some gardening gloves because the friction of the sandpaper and the heat from the sun were burning my hand.


After sanding the whole thing, I took a slightly damp rag and wiped the dust from sanding away.

Once the piece was dry, I began painting the table with primer.

A quick note about primer, I used Kilz because it is what my mom has always used. It is oil based, which means that you need mineral spirits to get it off. It might be wise to look for primer that is water based so that it is easier to get off if you are like me and get it all over yourself. I definitely went to a wedding this weekend with paint on the back of my leg that I had missed with the mineral spirits...

Also, depending on the colors that you are working with, it might be more efficient to use a paint and primer in one. Since I was going from a dark color to a light color, I felt that the primer was a necessary separate step.

While the primer was drying, I picked the paint color for the bedside table.


I ended up choosing the color "Golden Glow" by Olympic in a satin finish. This paint was water based, so it came off with soap and water. The paint came from Lowe's, but I also went to Home Depot to get the new hardware. The Home Depot had the brushed nickel cup pull I had in mind.

*The pull in this picture is not the one I ended up using.
After purchasing the yellow paint, I put two coats of the yellow on the table.

I used painters tape to create the pattern. I also put painters tape along the sides where the brush might accidentally touch. Here is what it looked like when I started to pull up the tape.

There were a few places that needed to be touched up with the yellow, but here is what it looked like when it was done.


BIG improvement, if I do say so myself :)

I hope that you have enjoyed this post. These methods could be applied to painting other pieces of furniture as well. I would love to hear about any projects that you are working on.
Make it your own!
~Kate